
Quick and Easy Crochet Mask Pattern

I’ve seen so many pictures of masks all around the internet because of what is currently going on worldwide because the CDC recommended everyone wears some type of mask when outside of their home.
I can’t sew to save my life! Well, maybe, but it wouldn’t be pretty.
So, I thought to myself, I could write a pattern that’s crochet. There would be no need for a sewing machine.
That’s just what I did. Honestly, I was a bit nervous and scared. Why??? Because this was my first written pattern. Crocheting, writing, frogging, erasing. Doing it over until it was just right.
Writing patterns was always a goal of mine, and I had intentionally made 2020 the year to start.
With the guidance of a class on writing crochet patterns and getting out of my head, I did it! It wasn’t bad at all and quite exciting!!
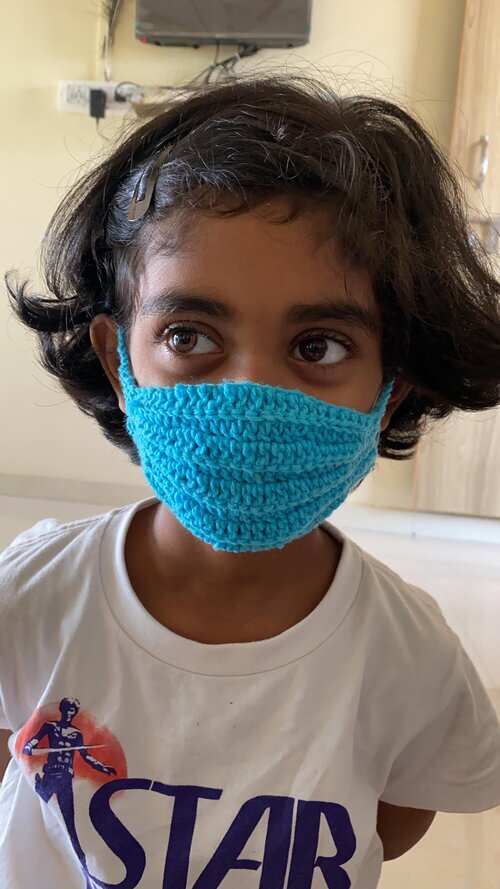
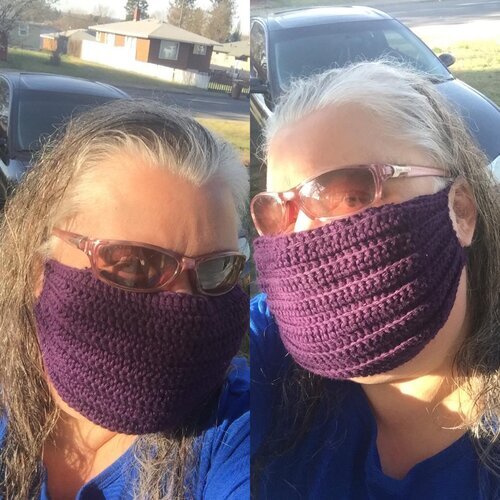
I followed the pattern myself at least four times before I reached out to testers. I was overwhelmed with the responses. Honestly, I had the fear that no one would respond or would want to make it, but that wasn’t the case at all! The lesson here is: Stay out of your head! So, I chose my testers, and even that process was great. I received great feedback, updated a few things, and voila! A huge thank you to (from left to right) Cherie, Megan, Ekta, Opal, and Srividya. Click the pics to see more of their work on Instagram.

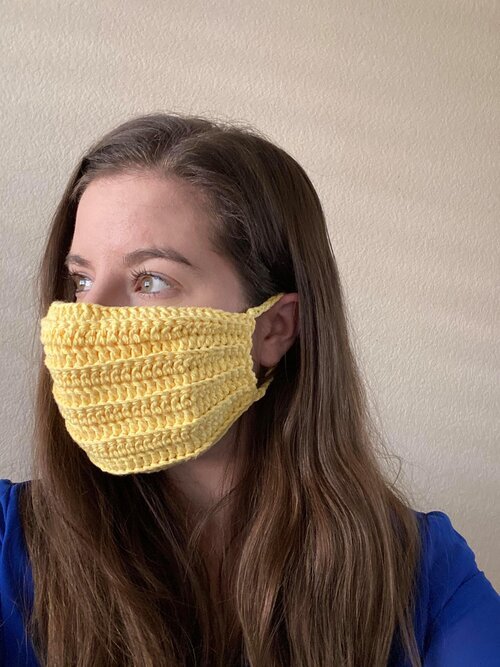
The mask was made with cotton for breathability. This is the best material to use out of all others.
Let’s get started!
Materials
Medium Weight, Size 4. I used less than 1 skein of Hobby Lobby's I Love This Cotton!
3.5 oz/100 gm 180yds/165m in the 326 Curry colorway.
Total oz used for this pattern: Child Size: 0.6oz, Teen/Small Adult: 1.2 oz, Large Adult: 1.7 oz
US size C/2 crochet hook (3.0mm)
Scissors
Darning needle
Measuring tape
Gauge
18 stitches x 10 rows = 4" square
Pattern used for gauge: DC BLO
Skill Level
Easy
Finished Size
Child Size: 6” x 4”
Teen/Small Adult Size: 8” x 4.5”
Large Adult Size: 10.125” x 5”
Abbreviations
CH – Chain
SC- Single Crochet
HDC – Half-double Crochet
DC – Double Crochet
ST(S) – Stitch(es)
BLO- Back Loop Only
Notes
US Terminology
Skill Level: Easy
Ear hooks: Can easily be adjusted by increasing or decreasing ch sts
Nose coverage: Can easily be adjusted by increasing or decreasing total rows depending on the fit you like
Special Stitches
BLO- back loop only

back loop only
Pattern Instructions
Child Size
Row 1: Ch 31
**All stitches EXCEPT the first and last sc of each row are worked in BLO from here and throughout to the end of filter pocket**
Row 2: Sc in 2nd ch from hook and in the next 3 ch, 5 hdc, 12 dc, 5 hdc, 4 sc (30)
Row 3: Ch 1, Turn, Sc in same st as ch 1, 3 sc, 5 hdc, 12 dc, 5 hdc, 4 sc (30)
Row 4-10: Repeat Row 3
Do not tie off.
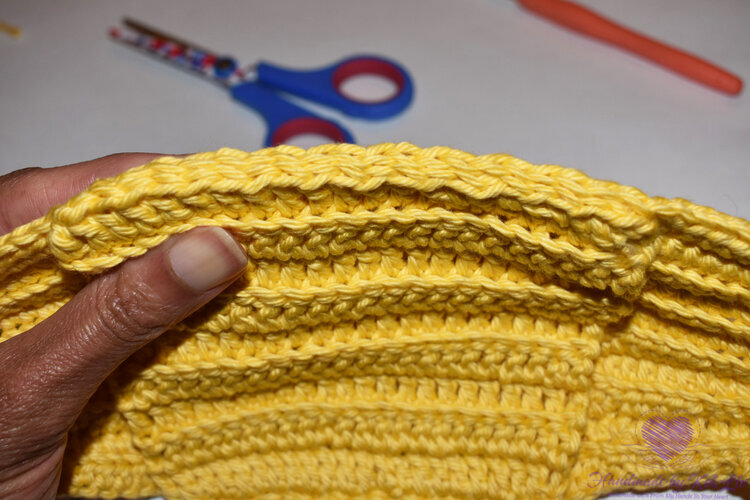
Now working on Ear hook: Turn to short edge of your work as seen in Photo 1.
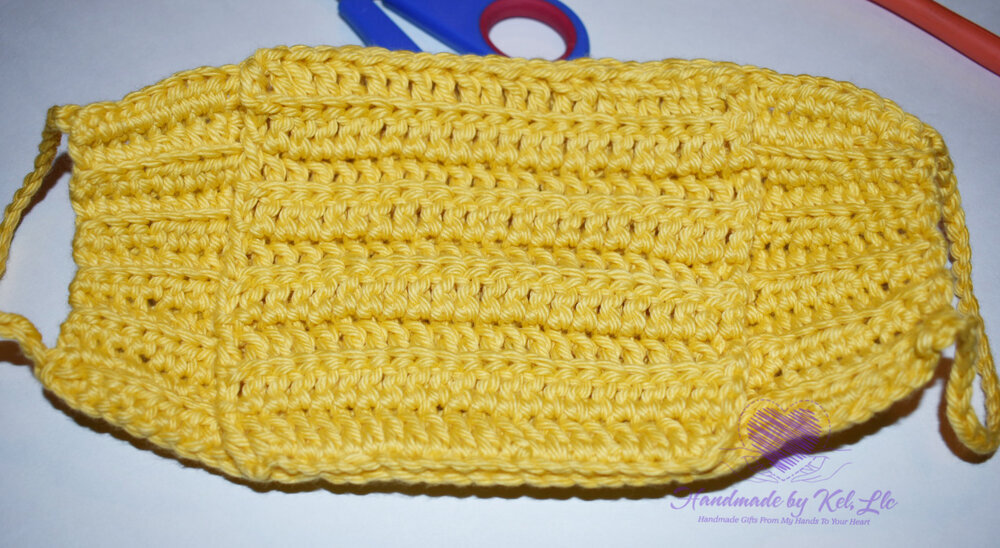
Ch 25 (Photo 2), sc to other end of short edge to attach (Photo 3). Cut yarn & Tie off.
Attach yarn to one end of the other short edge and repeat above instructions.
Weave in all ends. If you wish to have just a crochet mask, stop here, and it’s ready to wear.
Child Size Filter Pocket
If you want a filter pocket, follow the next instructions.
Row 1: Start with a 6in long tail, Ch 14
Row 2: Dc in 4th ch from hook and continue until the end (12)
Row 3: Ch 3 (counts as 1st dc), Turn, Dc in next ch (Photo4) and continue until the end (12)
Row 4-8: Repeat Row 3
Cut yarn, Tie off and leave about an 6in long tail.
Now, line the dc stitches up with the dc stitches on the mask and use your darning needle to weave the tail in and out or use your preferred route to connect two pieces together. See Photos 5-8
Teen/Small Adult Size
Row 1: Ch 41
**All stitches EXCEPT the first and last sc of each row are worked in BLO from here and throughout to the end of filter pocket**
Row 2: Sc in 2nd ch from hook and in the next 3 ch, 5 hdc, 22 dc, 5 hdc, 4 sc (40)
Row 3: Ch 1, Turn, Sc in same st as ch 1, 3 sc, 5 hdc, 22 dc, 5 hdc, 4 sc (40)
Row 4-11: Repeat Row 3
Do not tie off.
Now working on Ear hook: Turn to short edge of your work as seen in Photo 1.
Ch 25 (Photo 2), sc to other end of short edge to attach (Photo 3). Cut Yarn & Tie off.
Attach yarn to one end of the other short edge and repeat above instructions.
Weave in all ends. If you wish to have just a crochet mask, stop here, and it’s ready to wear.
Teen/Small Adult Size Filter Pocket
If you want a filter pocket, follow the next instructions.
Row 1: Start with an 8in long tail, Ch 24
Row 2: Dc in 4th ch from hook and continue until the end (22)
Row 3: Ch 3 (counts as 1st dc), Turn, Dc in next ch (Photo4) and continue until the end (22)
Row 4-9: Repeat Row 3
Cut Yarn & Tie off and leave about an 8in long tail.
Now, line the dc stitches up with the dc stitches on the mask and use your darning needle to weave the tail in and out or use your preferred route to connect two pieces together. See Photos 5-8
Large Adult Size
Row 1: Ch 51
**All stitches EXCEPT the first and last sc of each row are worked in BLO from here and throughout to the end of filter pocket**
Row 2: Sc in 2nd ch from hook and in the next 3 ch, 5 hdc, 32 dc, 5 hdc, 4 sc (50)
Row 3: Ch 1, Turn, Sc in same st as ch 1, 3 sc, 5 hdc, 32 dc, 5 hdc, 4 sc (50)
Row 4-13: Repeat Row 3
Do not tie off.
Now working on Ear hook: Turn to short edge of your work as seen in Photo 1.
Ch 20 (Photo 2), sc to other end of short edge to attach (Photo 3). Cut Yarn & Tie off.
Attach yarn to one end of the other short edge and repeat above instructions.
Weave in all ends. If you wish to have just a crochet mask, stop here, and it’s ready to wear.
Large Adult Size Filter Pocket
If you want a filter pocket, follow the next instructions.
Row 1: Start with an 8in long tail, Ch 34
Row 2: Dc in 4th ch from hook and continue until the end (32)
Row 3: Ch 3 (counts as 1st dc), Turn, Dc in next ch (Photo4) and continue until the end (32)
Row 4-11: Repeat Row 3
Cut Yarn & Tie off and leave about an 8in long tail.
Now, line the dc stitches up with the dc stitches on the mask and use your darning needle to weave the tail in and out or use your preferred route to connect two pieces together. See Photos 5-8

Photo 1

Photo 2

Photo 3
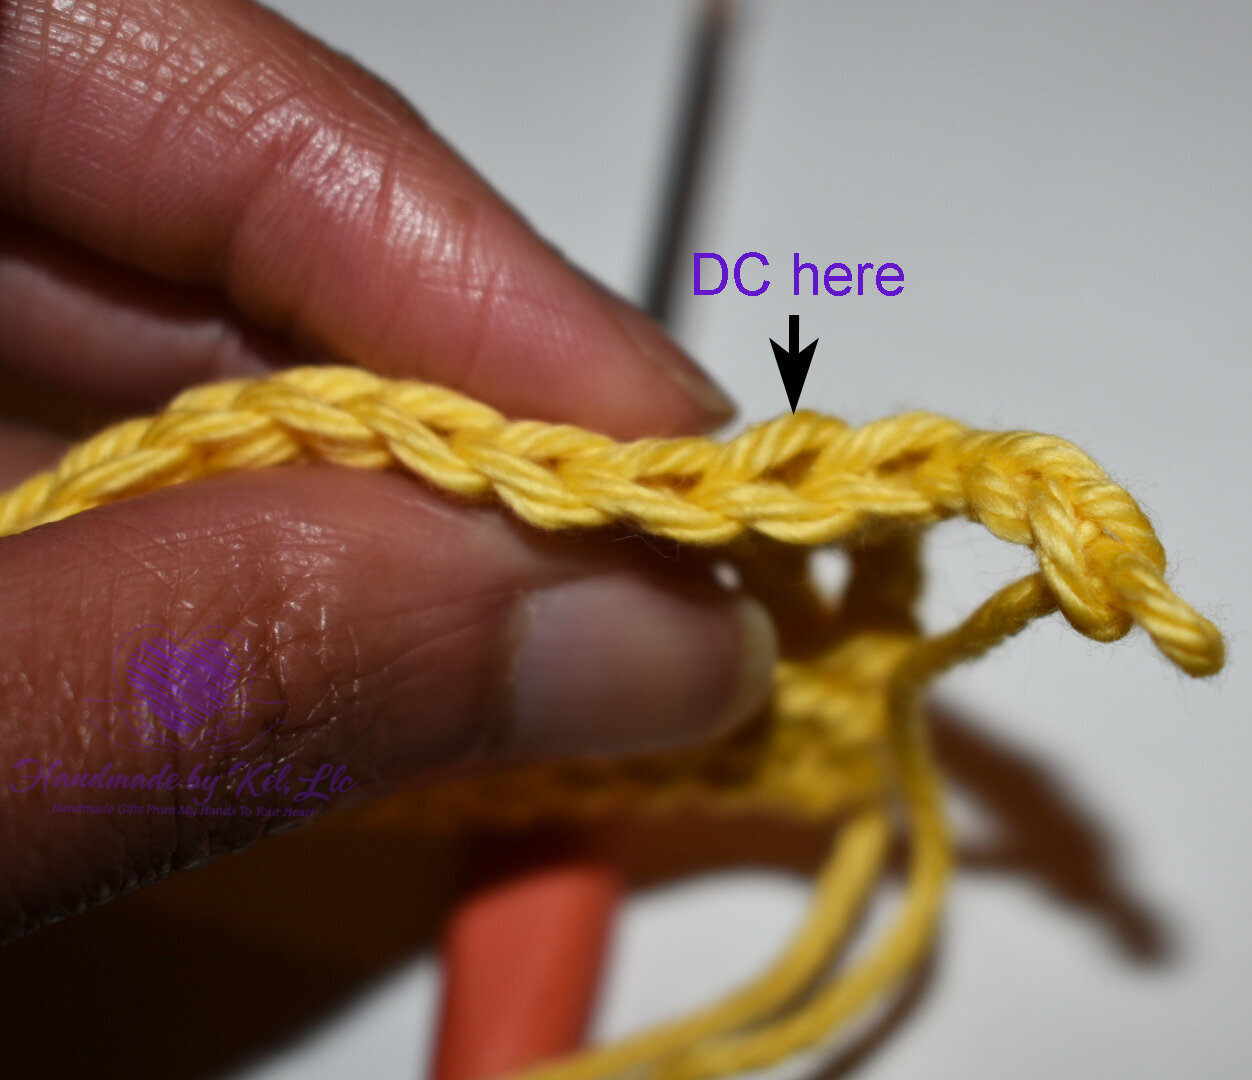
Photo 4

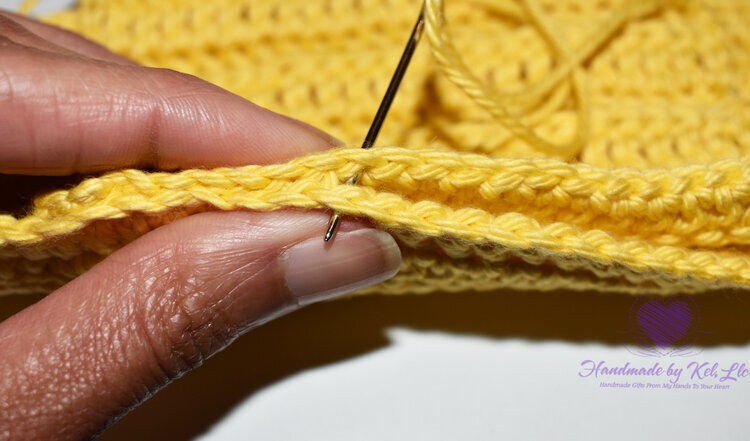
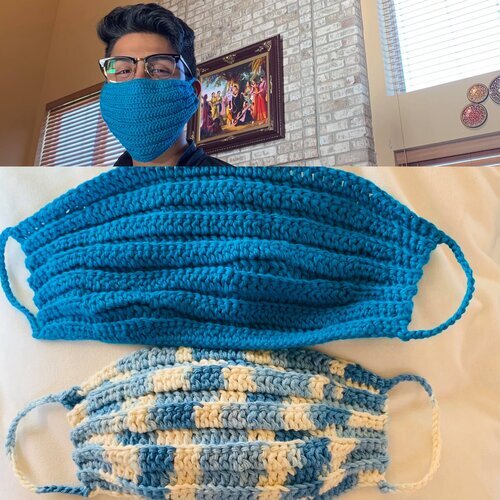
Above pics are Photos 5-8 from left to right.

Filter pockets
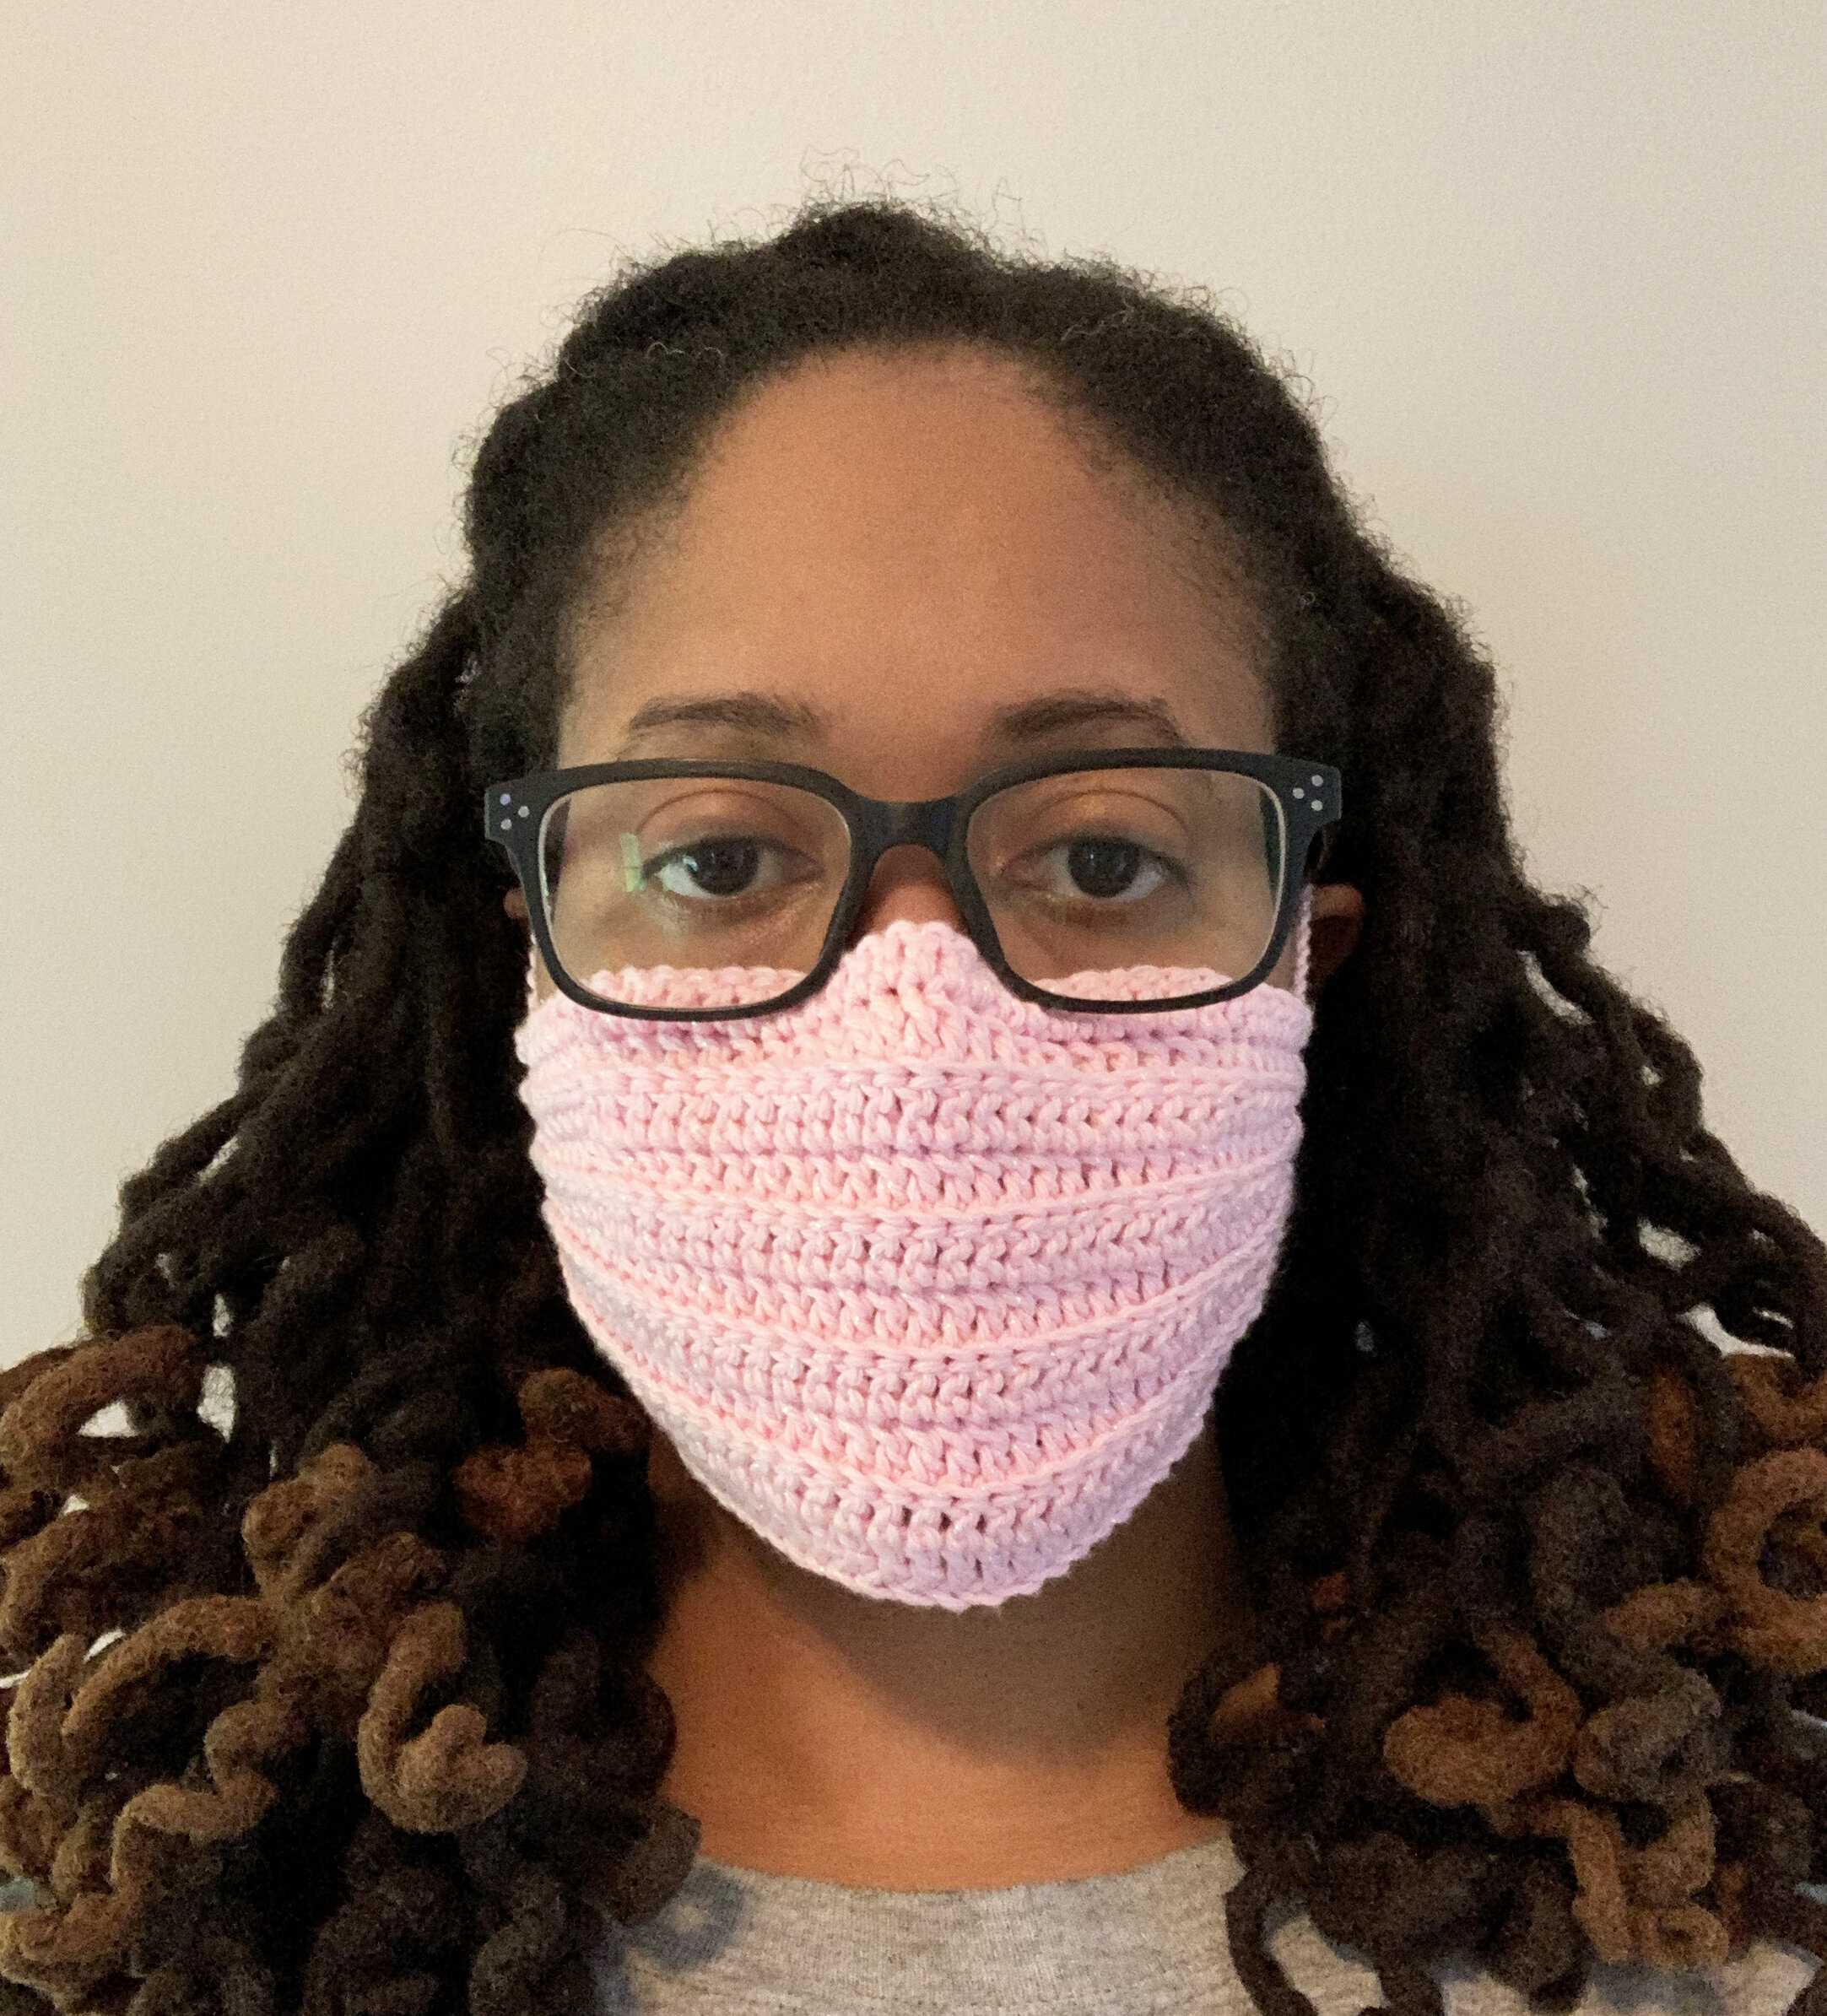
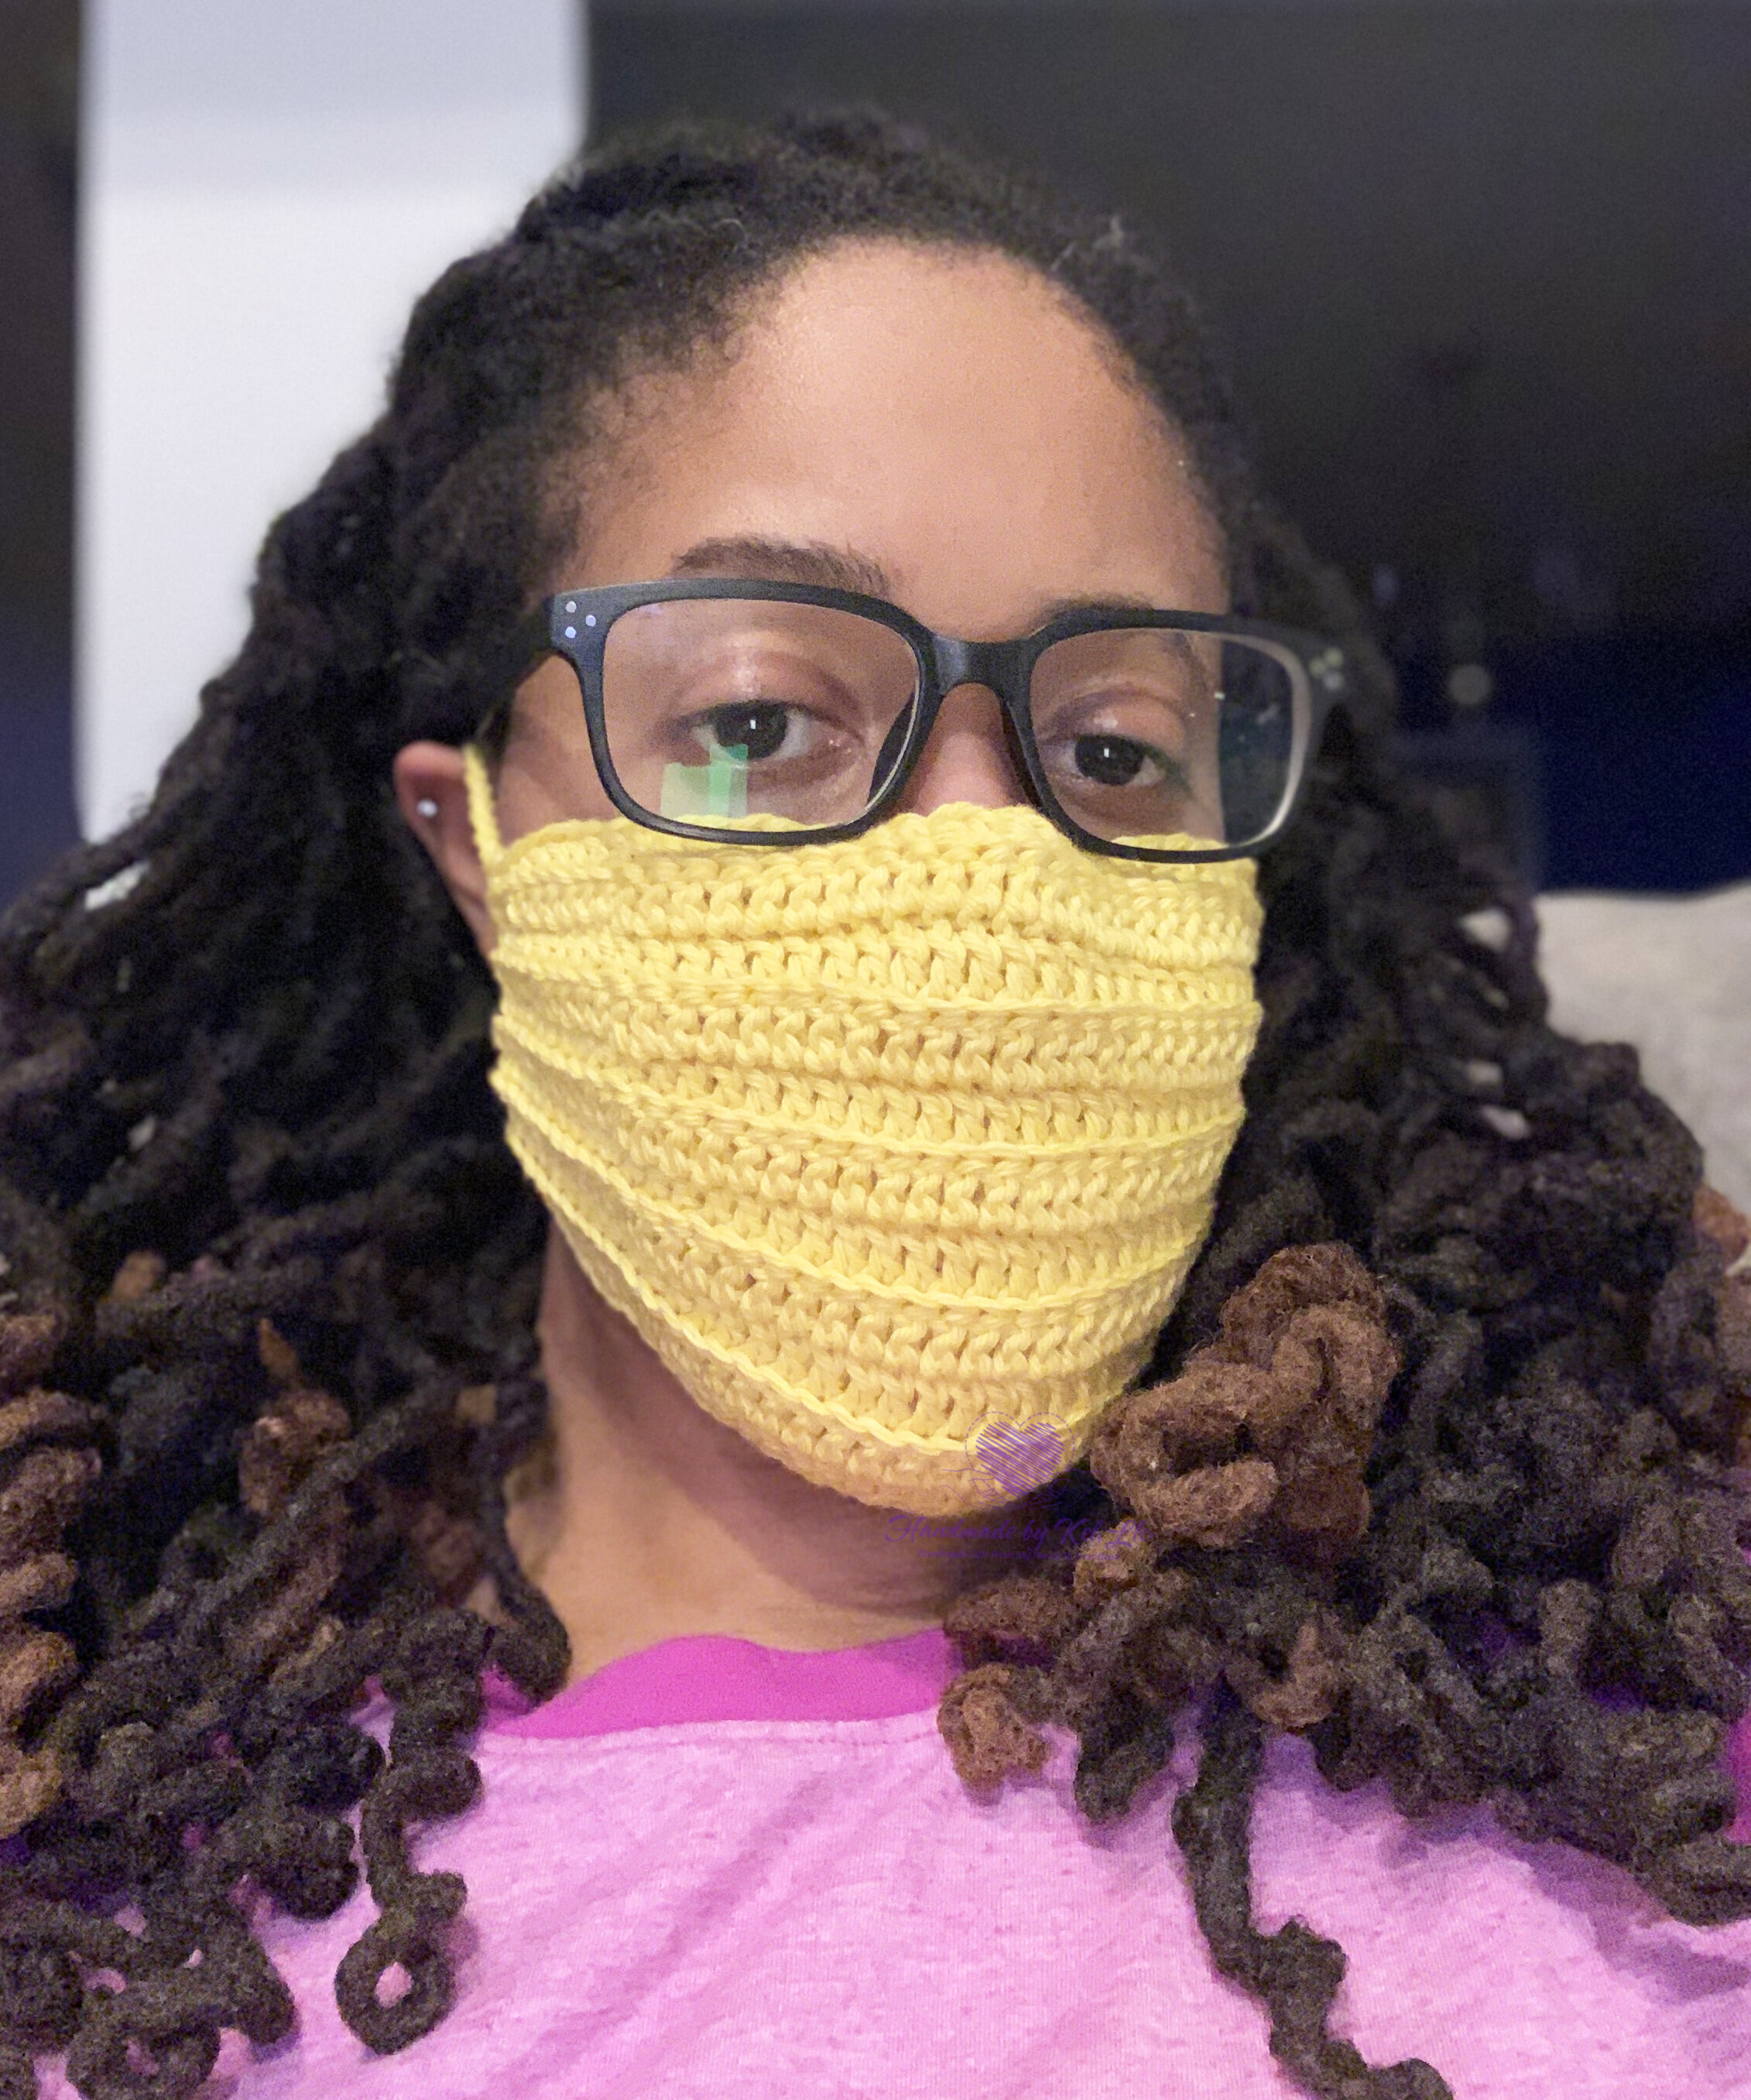
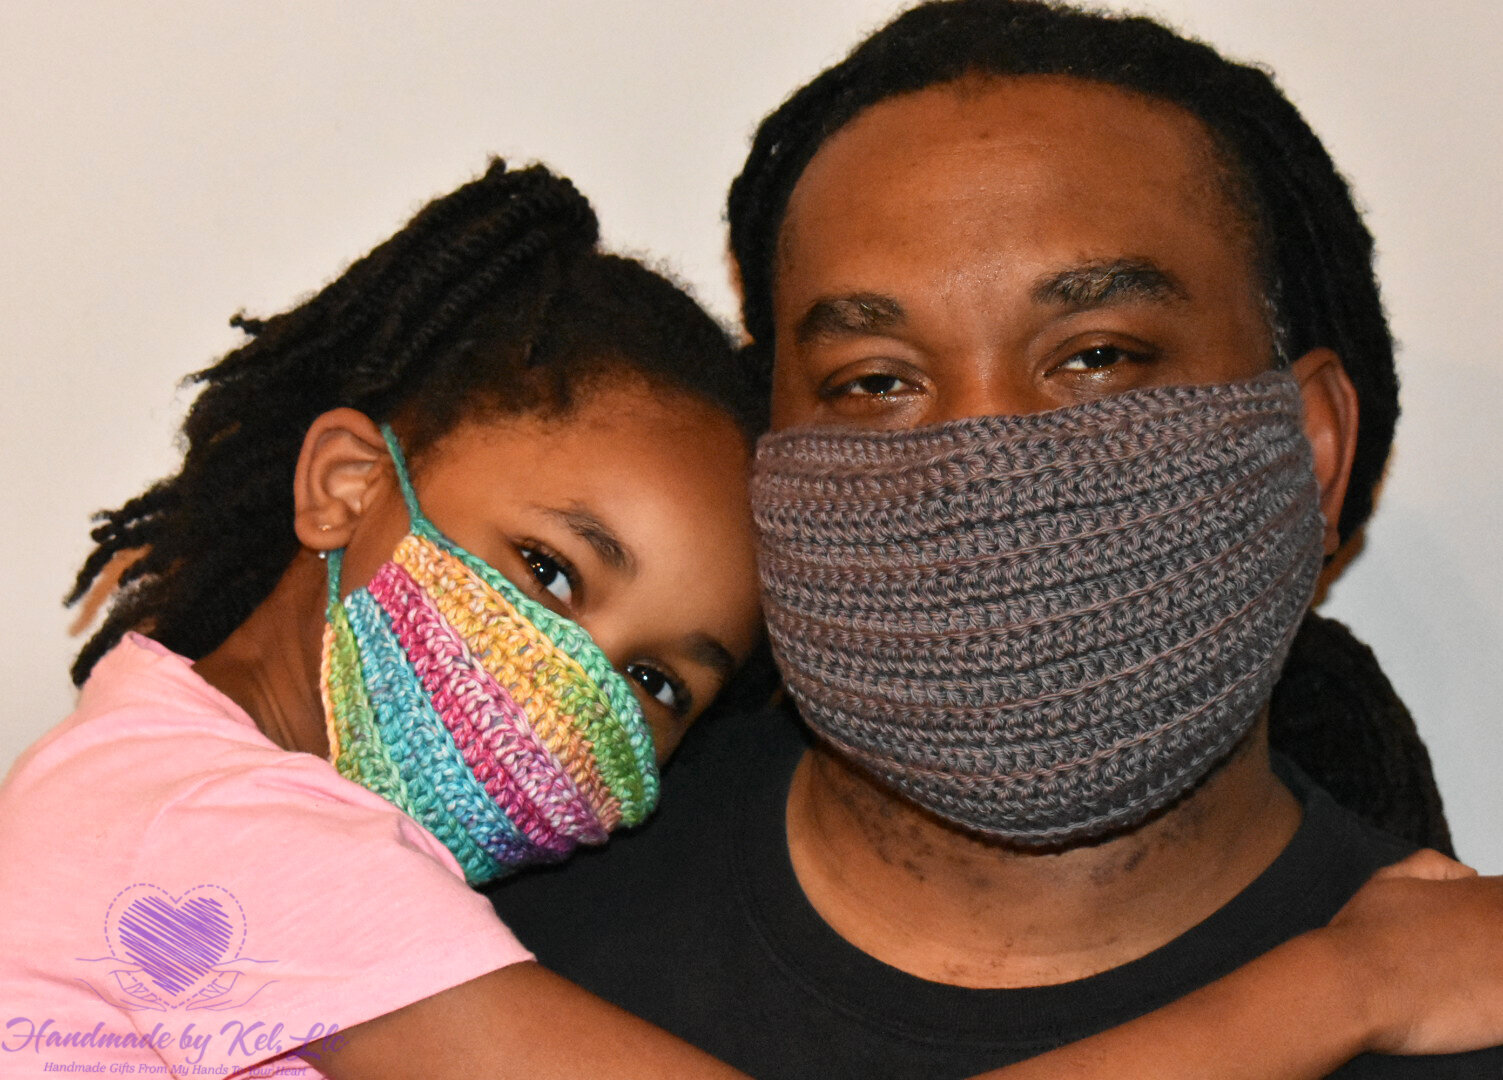
That’s it!! They work up quickly. Here are pics on myself, my daughter, and the hubs modeling our masks. Comment below the colors you’ll make yours. Share your pics with me and use hashtags #hbkcrochetmask and #handmadebykelllc for a chance to be featured on my feed.
Click this link, Quick & Easy Crochet Mask Pattern to purchase the PDF version of this pattern.
This pattern and its images are copyright protected and the sole property of Handmade by Kel, LLC. Please do not redistribute, transfer, or sell the pattern, or alter it to claim as your own. You may sell any products you create from this pattern. Please credit the designer by linking online listings www.handmadebykel.com or tagging @handmadebykelllc #handmadebykelllc.
Pin Me Now to Read Later!!!

